As I’m using 3D-printed parts for the vast majority of the upgrade to this kit, I should probably talk a bit about the nuances of working with the different 3D-print media. And since I’ve just received the new, screen accurate landing bay doors and feet, now’s as good a time as any.
All of the parts I’m using have come from a Shapeways vendor known as 308bits. If you’re unfamiliar with Shapeways, it’s a 3D-printing on-demand service and marketplace. You can upload your own designs and have them printed in your choice from a huge range of media, from versatile plastics through to steel and cast metals; the price depends on the media. Almost all of the parts have been printed in what’s referred to as “Smooth Fine Detail Plastic” which is a translucent, acrylic based media.

Working with this material is a bit different to working with polystyrene or resins. For a start, it is brittle and hard; drilling and cutting requires patience and care. Drilling needs a high speed Dremel or similar – no hand drilling here. And particular care needs to be exercised when removing parts from sprue; they can break easily. Each piece needs to be prepared before any paint or glue, unless you fancy a messy glop that’ll never dry!
I usually start by washing each piece in alcohol (Methylated Spirits or rubbing alcohol) to remove any oils left behind during printing, and allow them to dry for at least 10-15 mins.
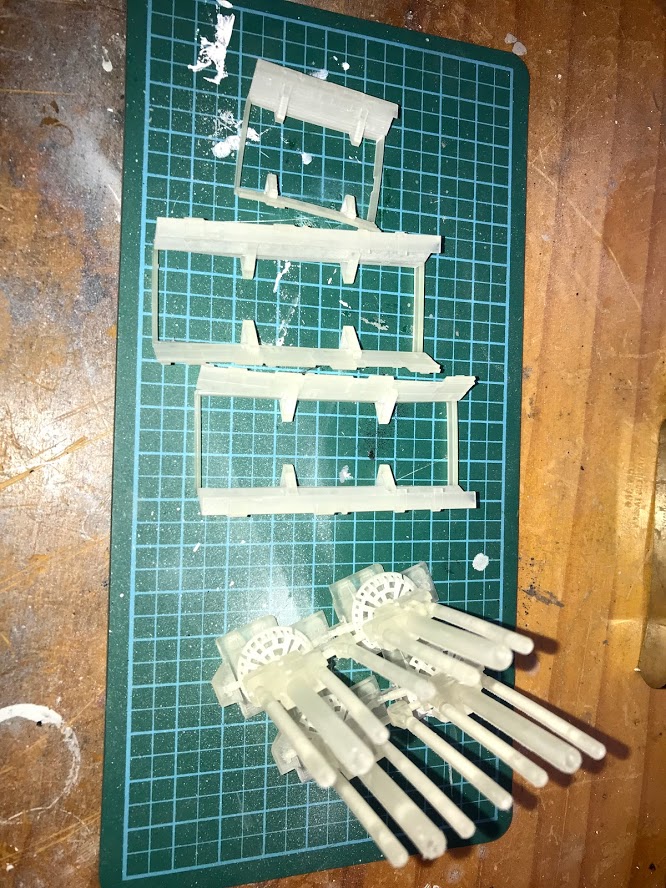
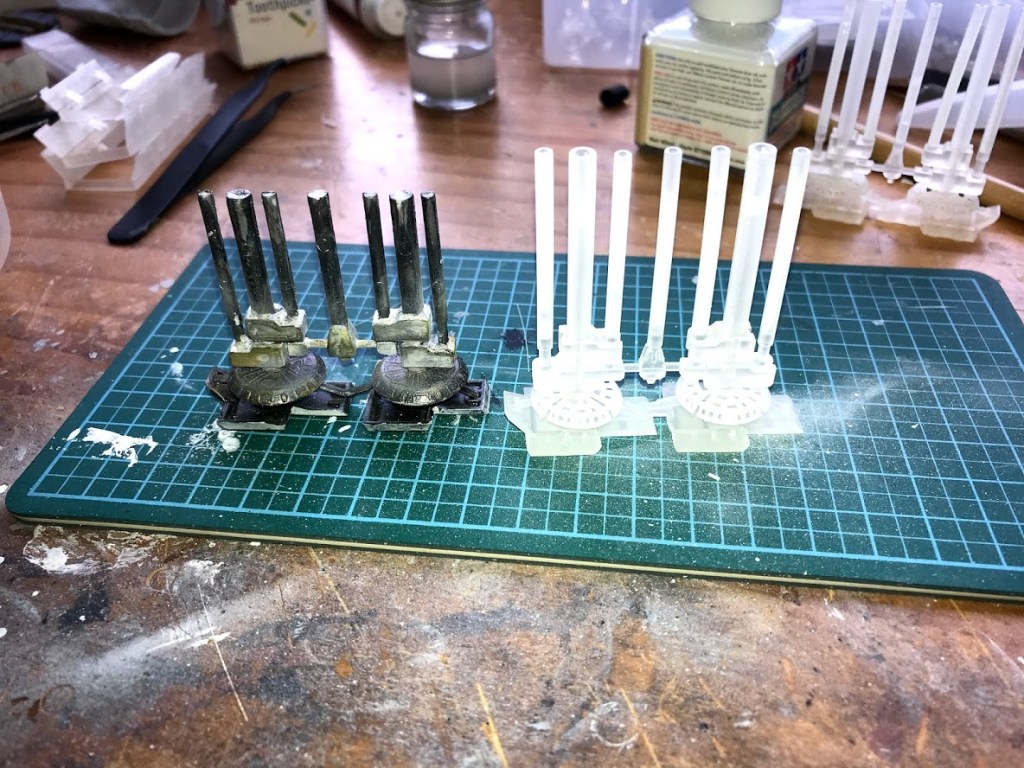
Usually, no sanding is required, except where sprue has been cut away. As the media is quite hard, I find the best results come from using jeweller’s files, or emery boards. However in the case of the new landing gear, the struts are quite a bit longer than the stock parts and will require trimming to level out the landing gear.
Next is a coat of Tamiya Surface Primer. This is compatible with the plastic, and provides a good surface for paints.
The new parts are then painted. Originally when I built the kit, I was a High School student with a very tight budget. So the hull pieces were left with no base coat, and only detail painting of certain areas. Additionally, because it was a team effort, my friend and I each painted a hull piece; so the top half (mine) was quite different from the bottom half (his). I was never really happy about how that looked. After much agonizing, I made the decision to scrap the bottom hull, spray over the top hull and start again. I’ve now resprayed the hull pieces using Tamiya Insignia White. This gives a slightly warm white base that’s easy to match.
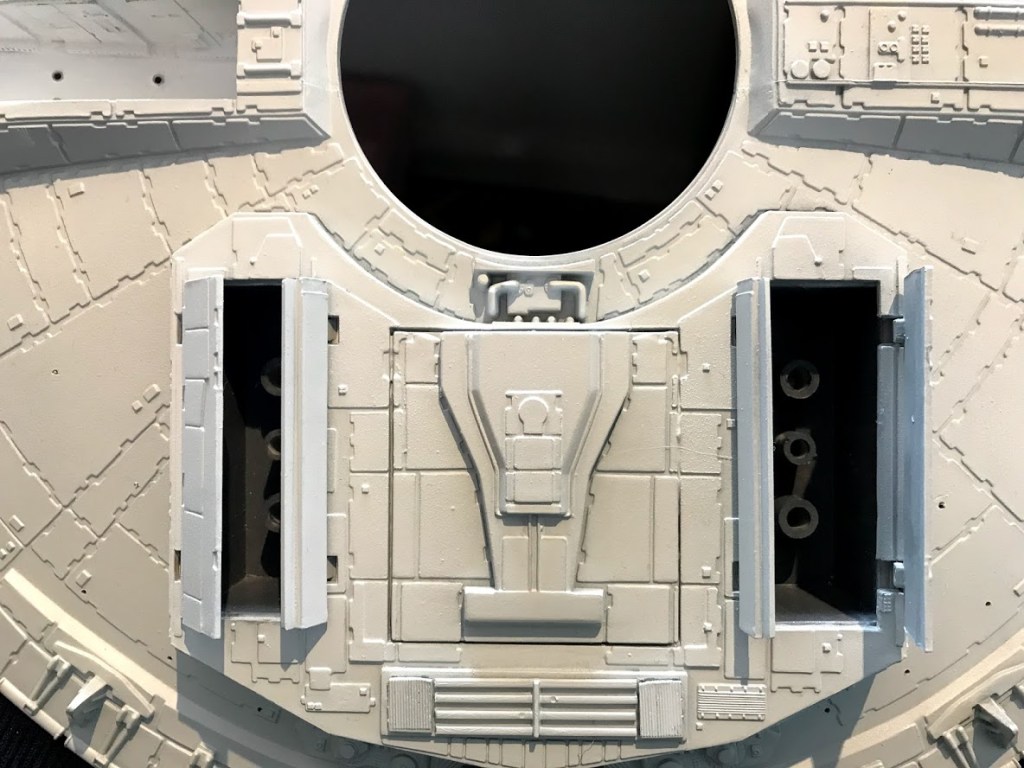
The MPC kit not only had only 3 sets of landing gear, the landing gear bay doors were a real guess.
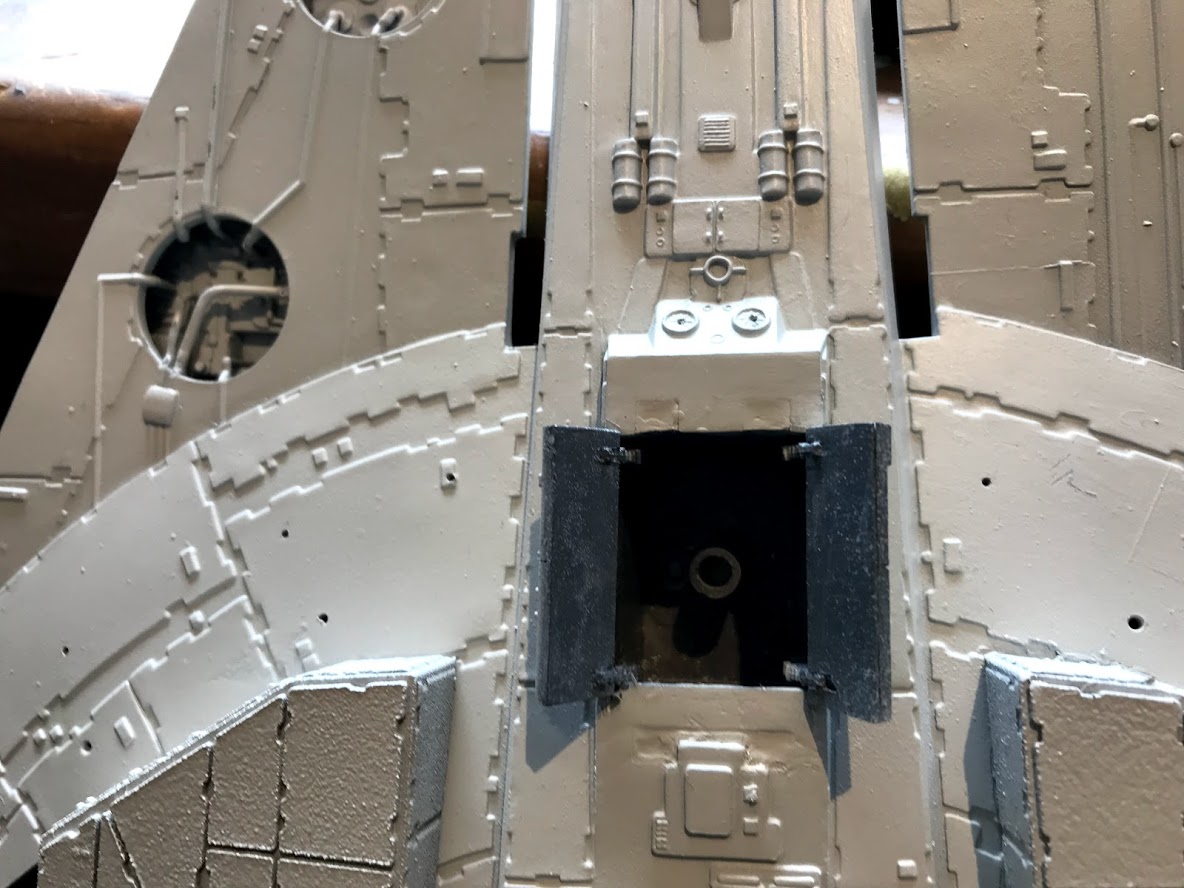
The front doors opened fore and aft; originally I’d modified these by gluing them together and re cutting them to open out to the sides:
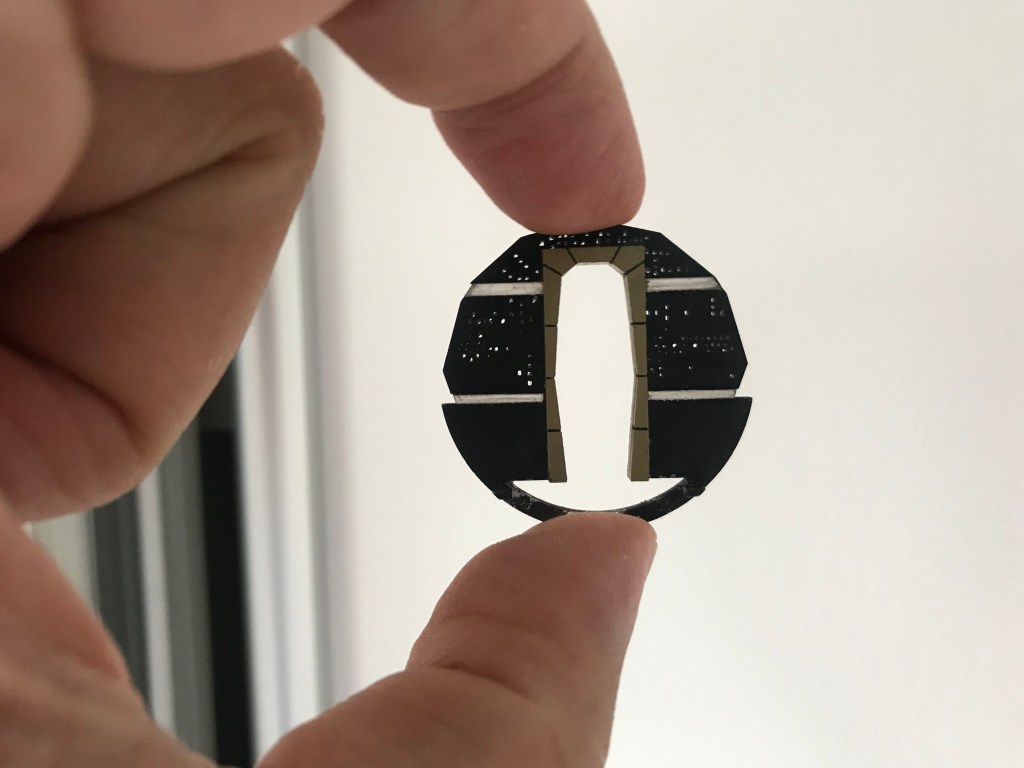
Then I got wind of a new set of screen accurate doors from 308bits. While they’re non-functional, they do have the bi-fold door on one side. They just require the removal of the original doors and filling of the hinge-holes. The new units drop into place with a small amount of filing to achieve a smooth fit.
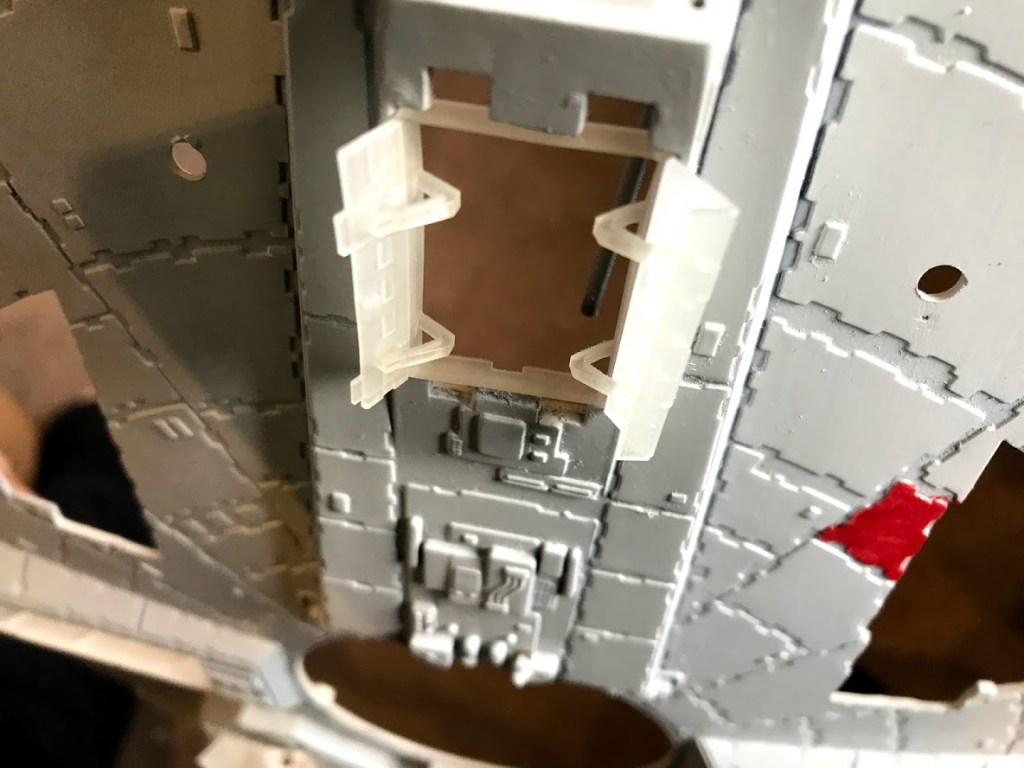
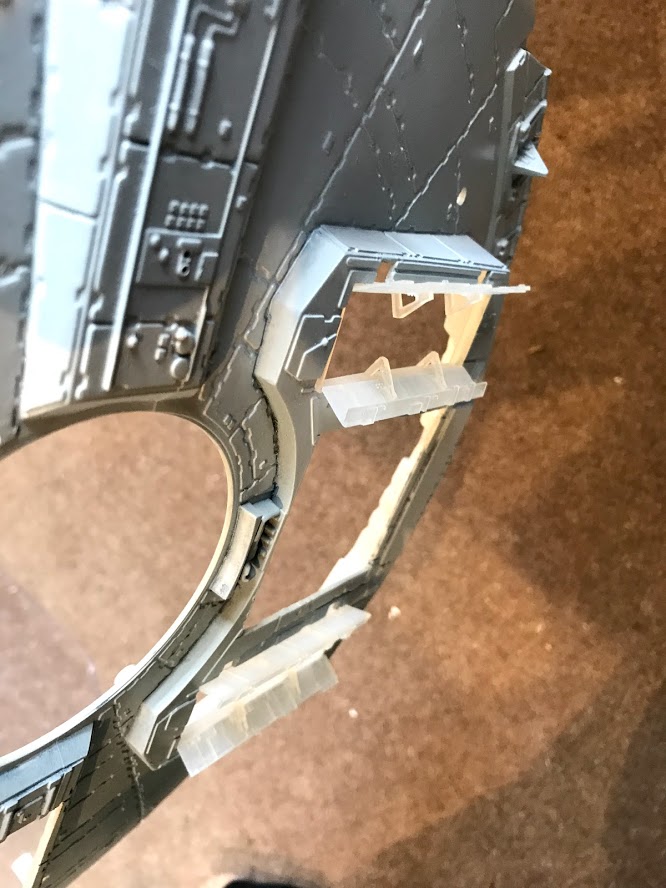
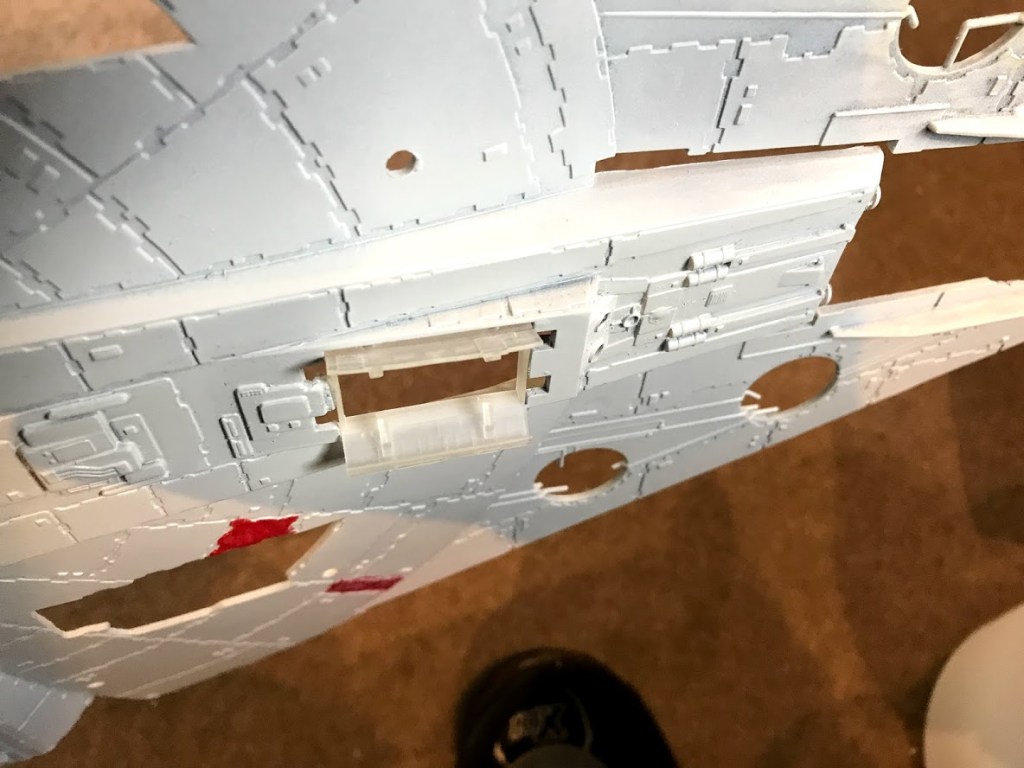
After carefully removing the existing bay doors, I checked each door unit for fit. I found that I had to file out a small amount of material from the internal gear bays to allow the frame of these doors to slip in and fit snugly. A primer coat and a couple of quick coats of Insignia White and they really look the part.

And the finished landing gear:
Here are some of the other 3D-printed parts:

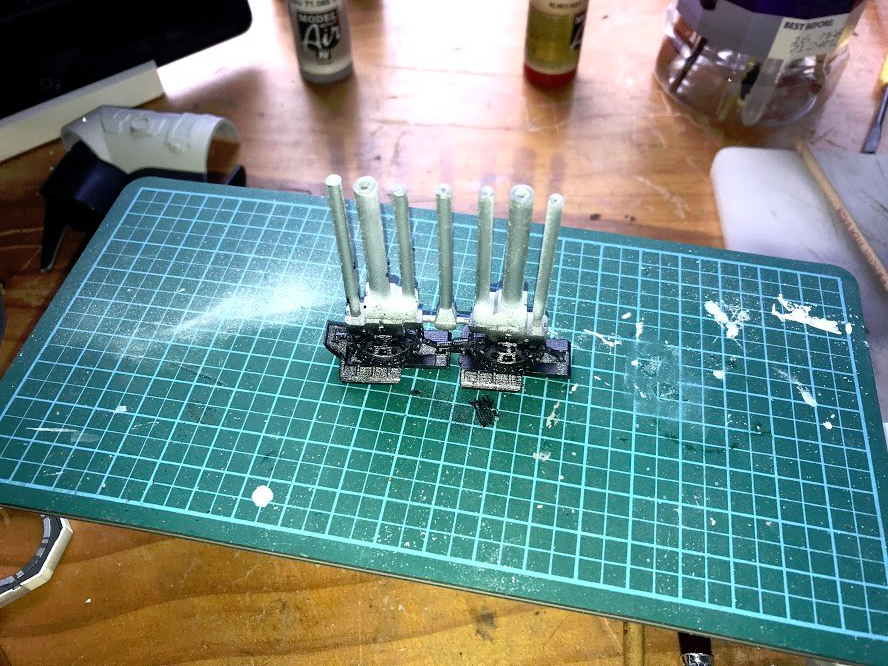
New Upper Cannon 
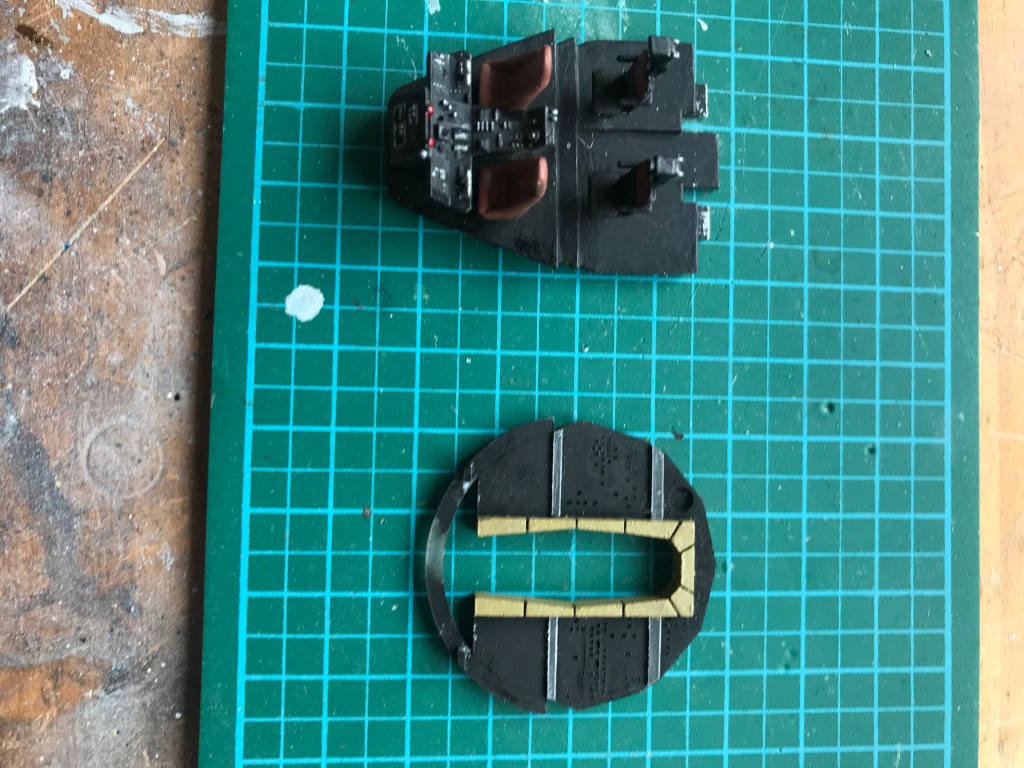
Test fit of cockpit 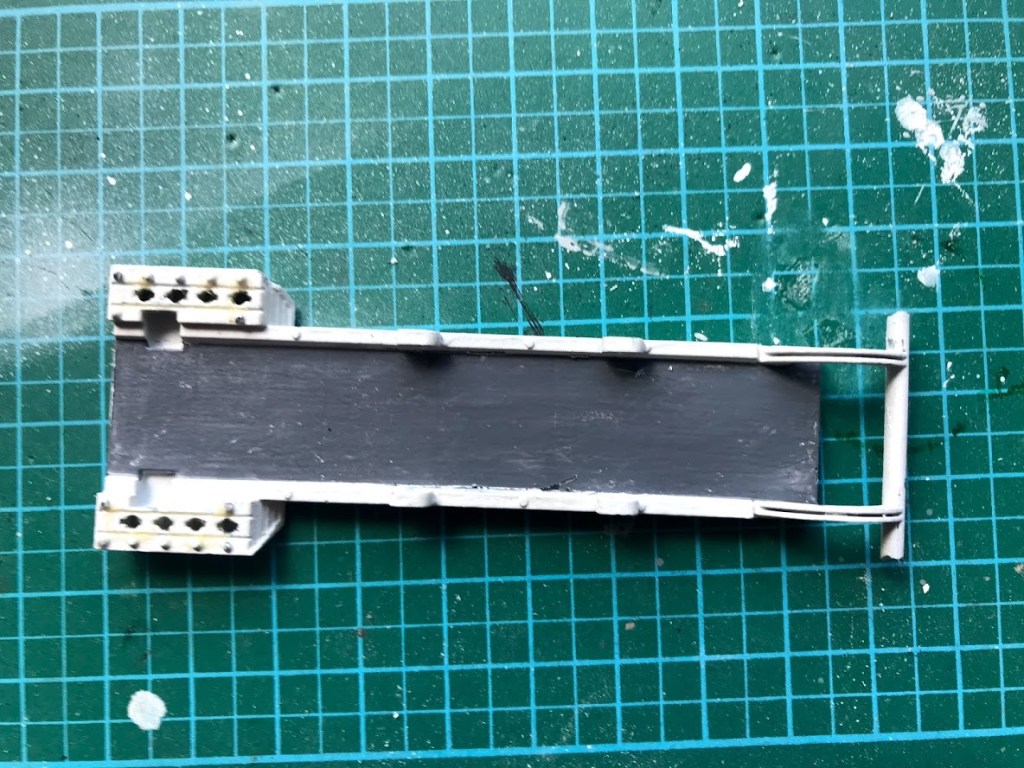
New Loading Ramp 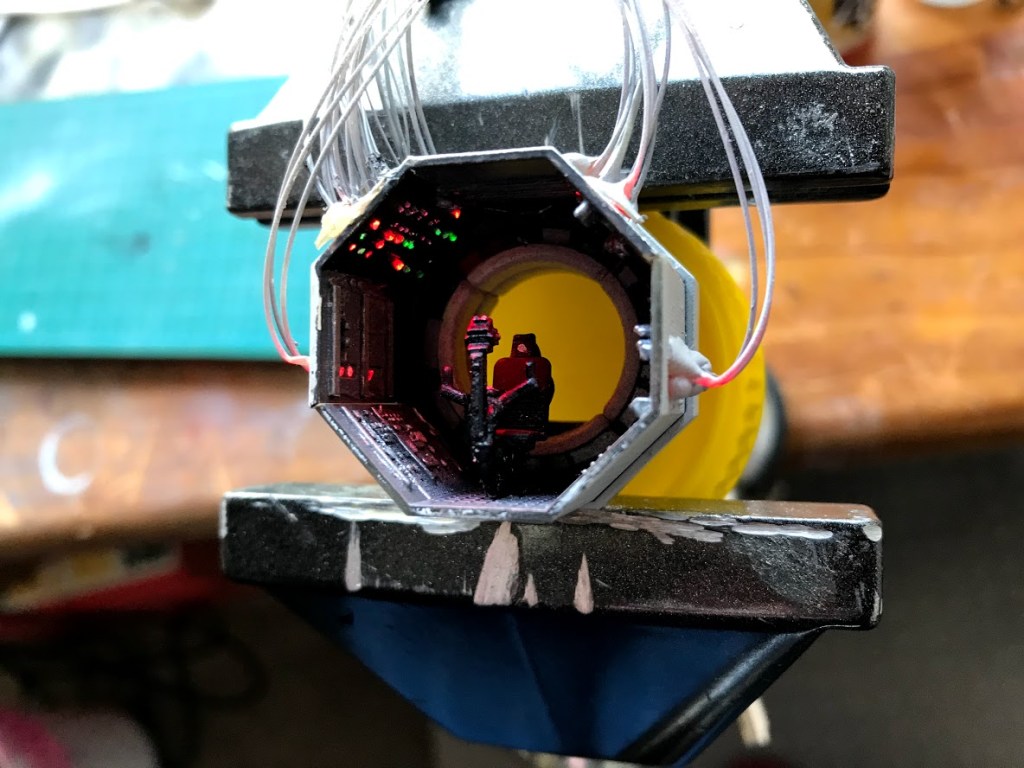
Lower turret with fibre optic lighting 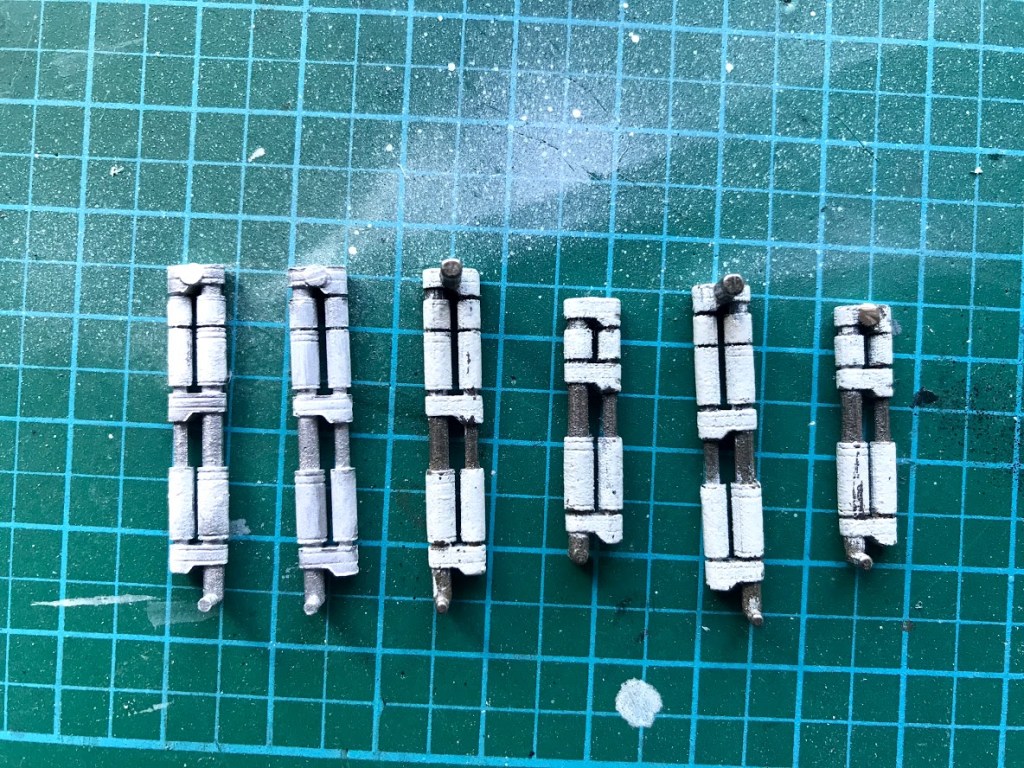
Loading Ramp struts – The two on the left are 3D-printed plastic, the others are steel! 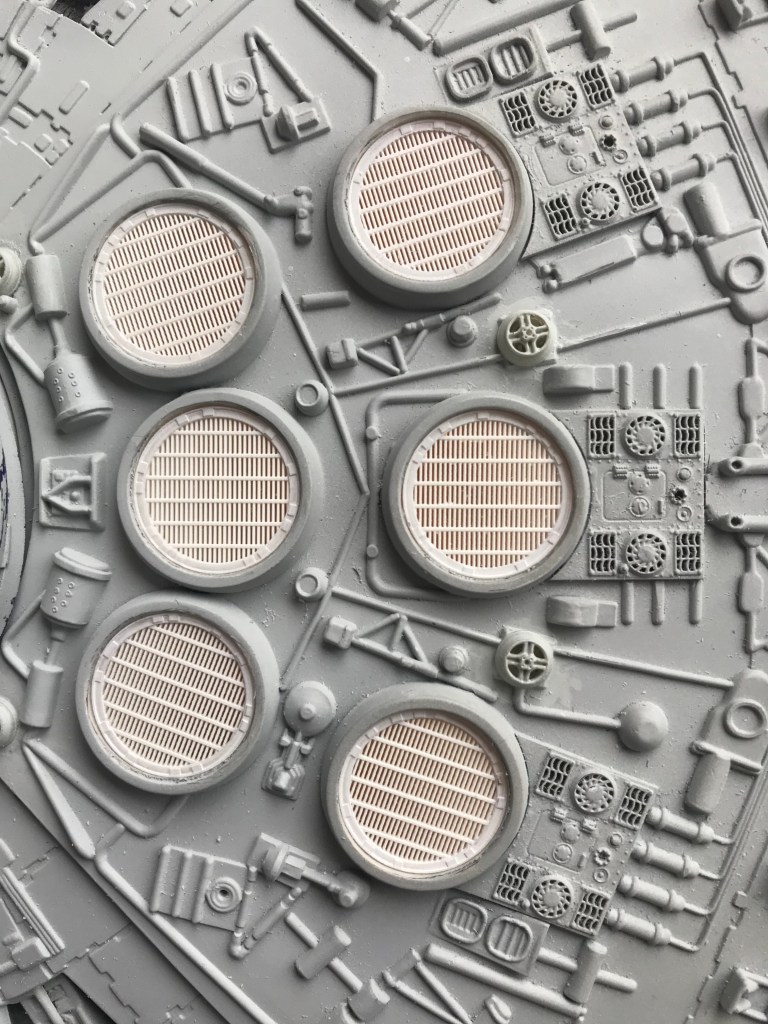
Proper vents and upper hull greeblies
Next: Let there be light!
