The MPC Millennium Falcon was really a rush job, back when originally released in 1979. While it definitely looks like the Falcon, it has several structural issues that spoil it a bit. Specifically:
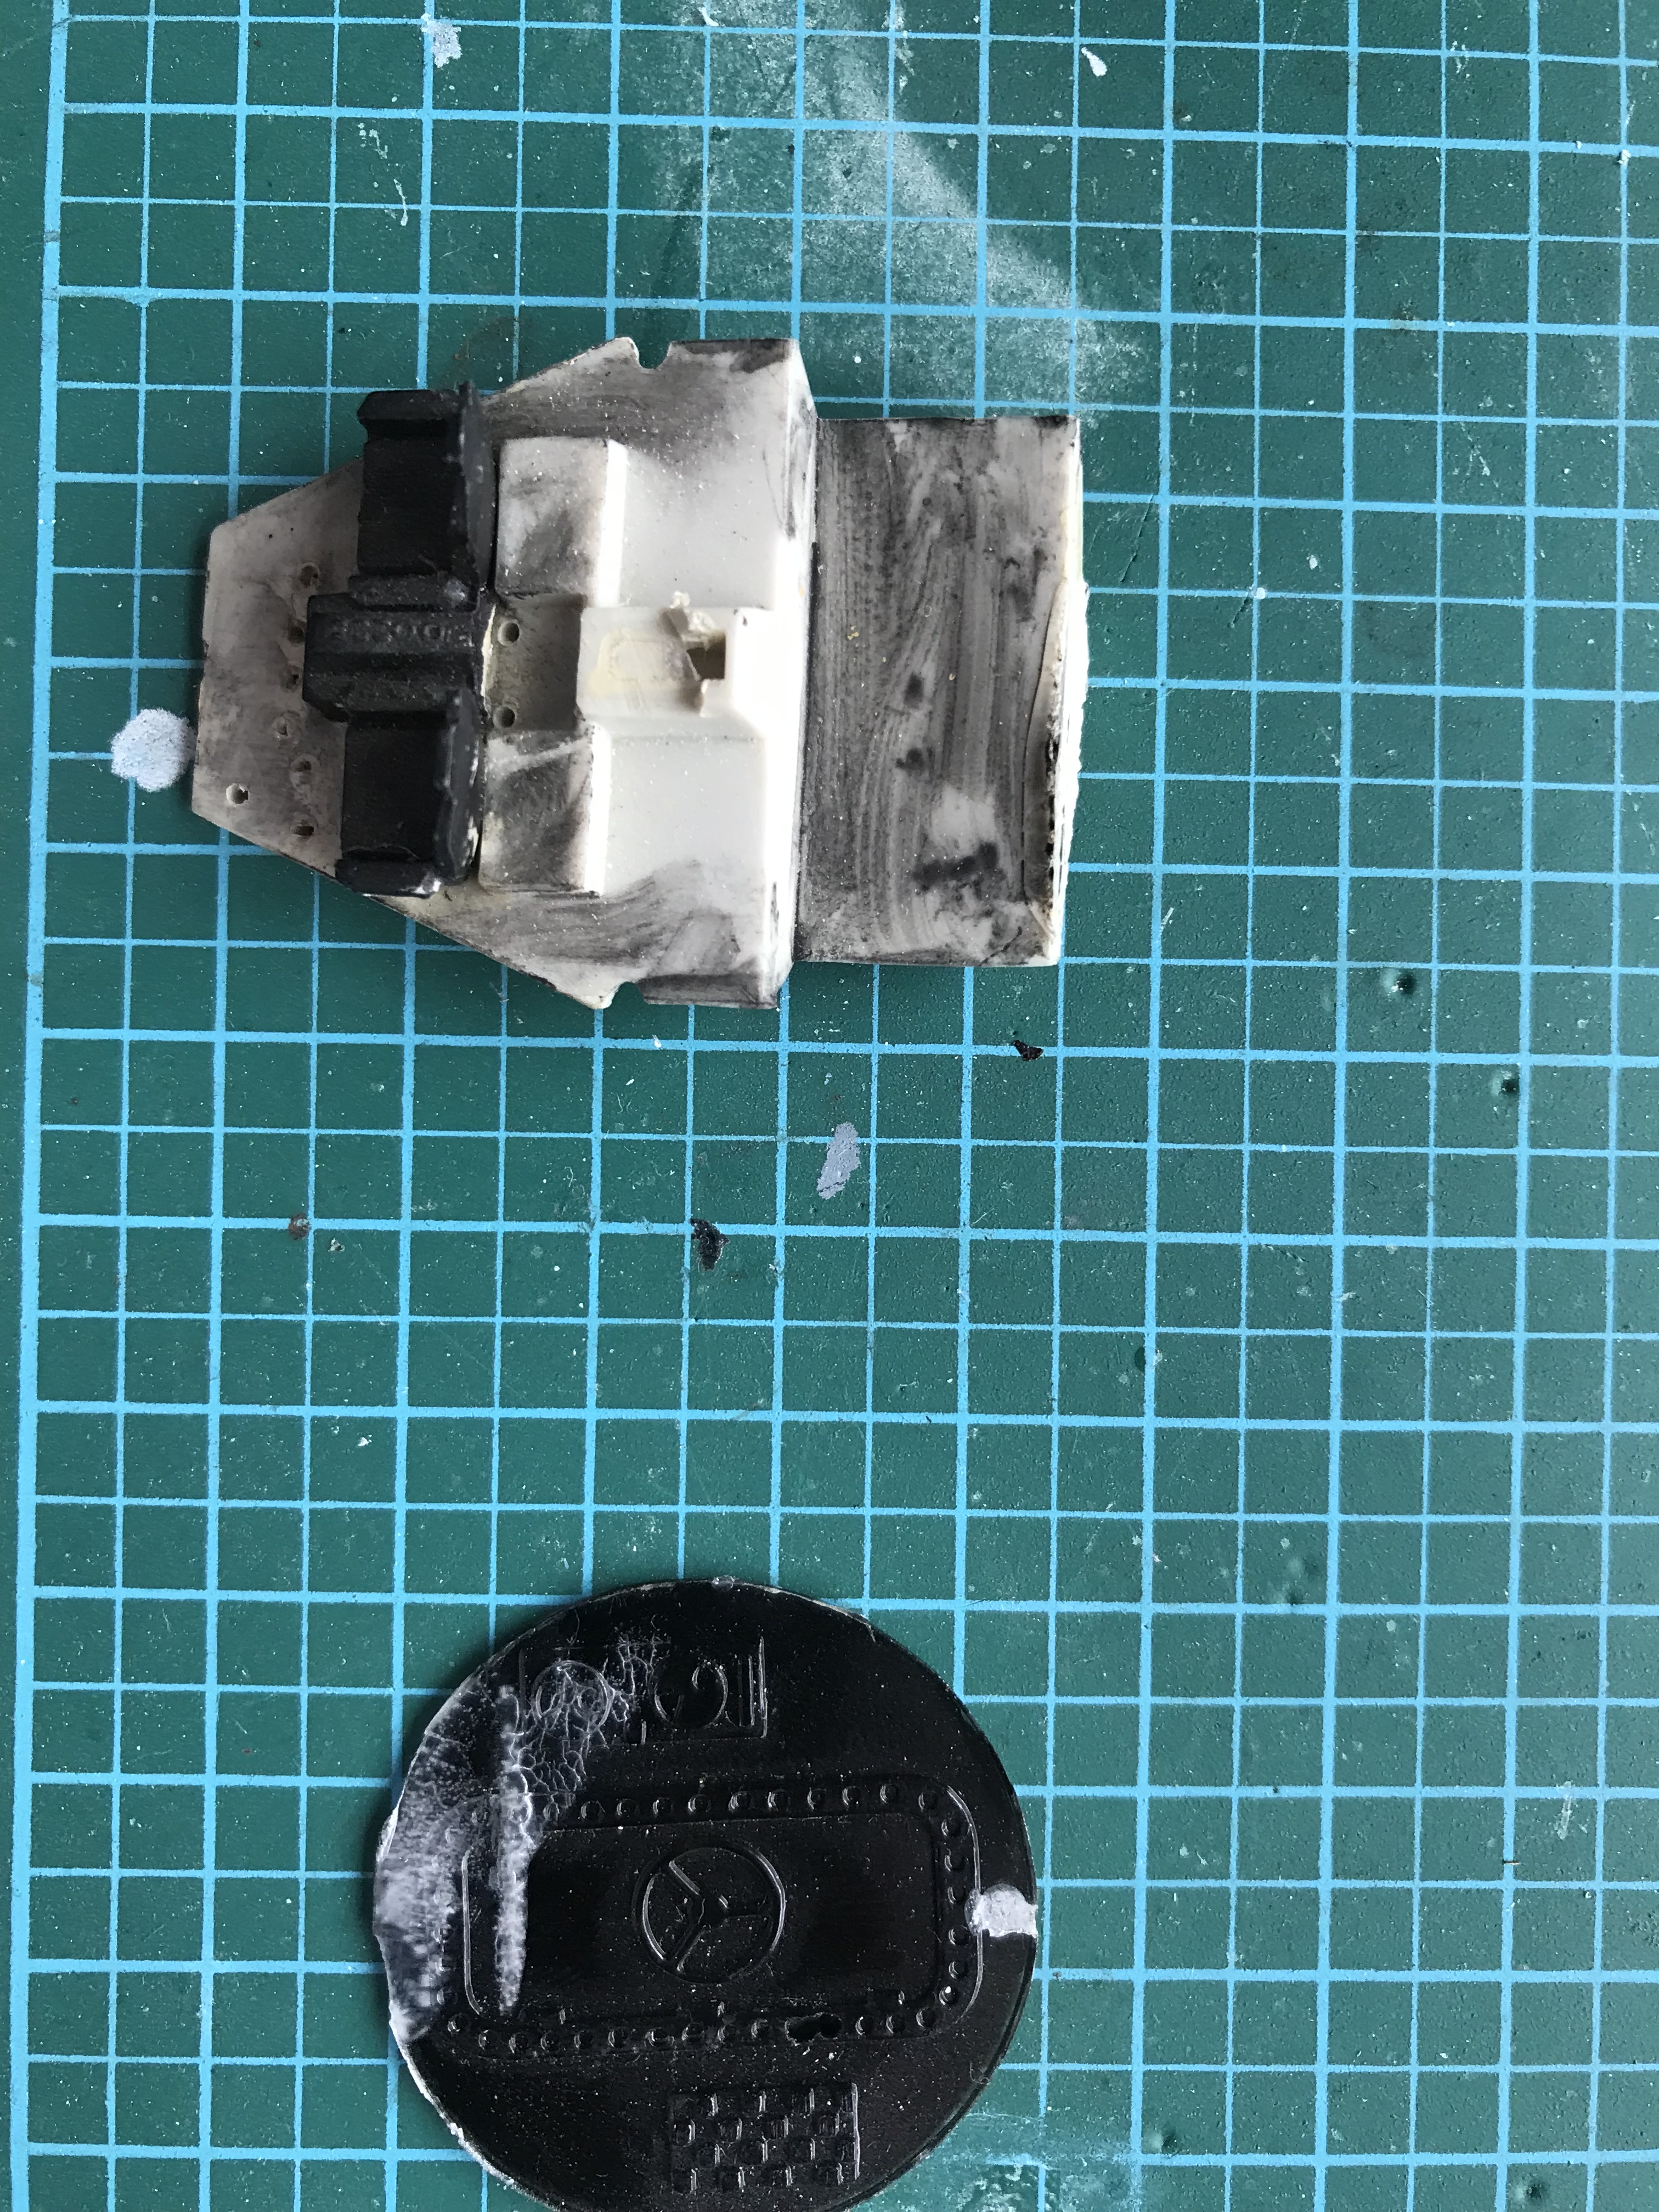
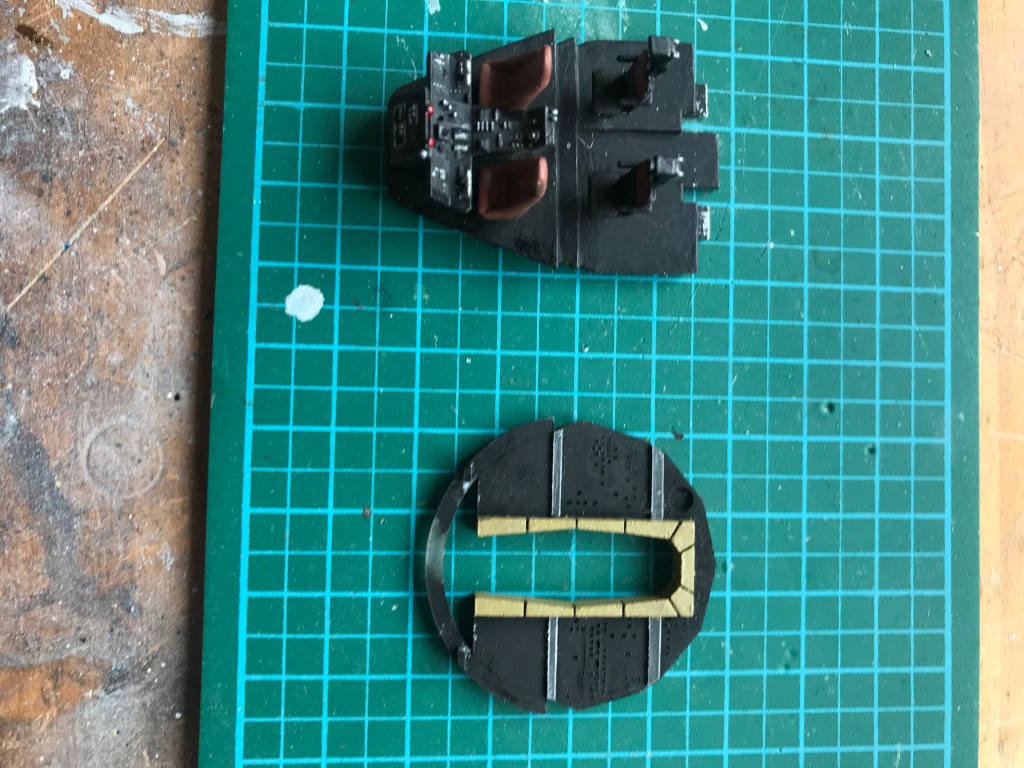
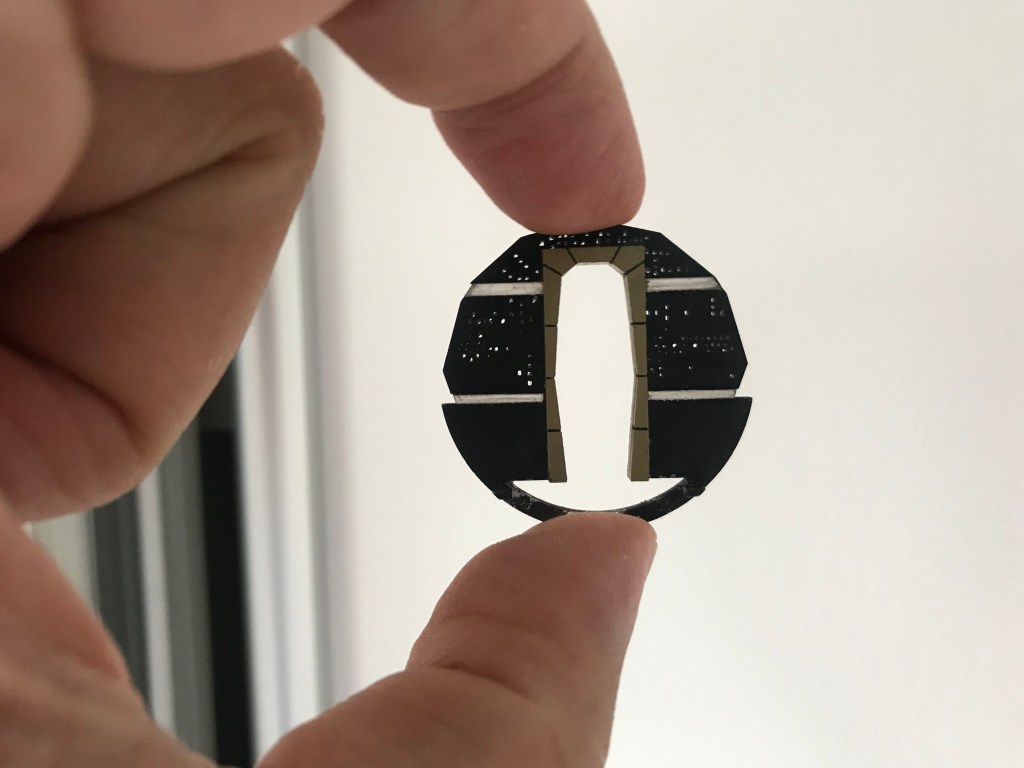
i) The sidewalls are too high. This spoils the overall shape and makes it look too “thick”. Essentially, they need to be shortened by about 7.5-8mm or roughly 35%. Of course, given the deceptively complex shape of the hull, this introduces challenges with other parts, such as the docking rings and the cockpit tube.
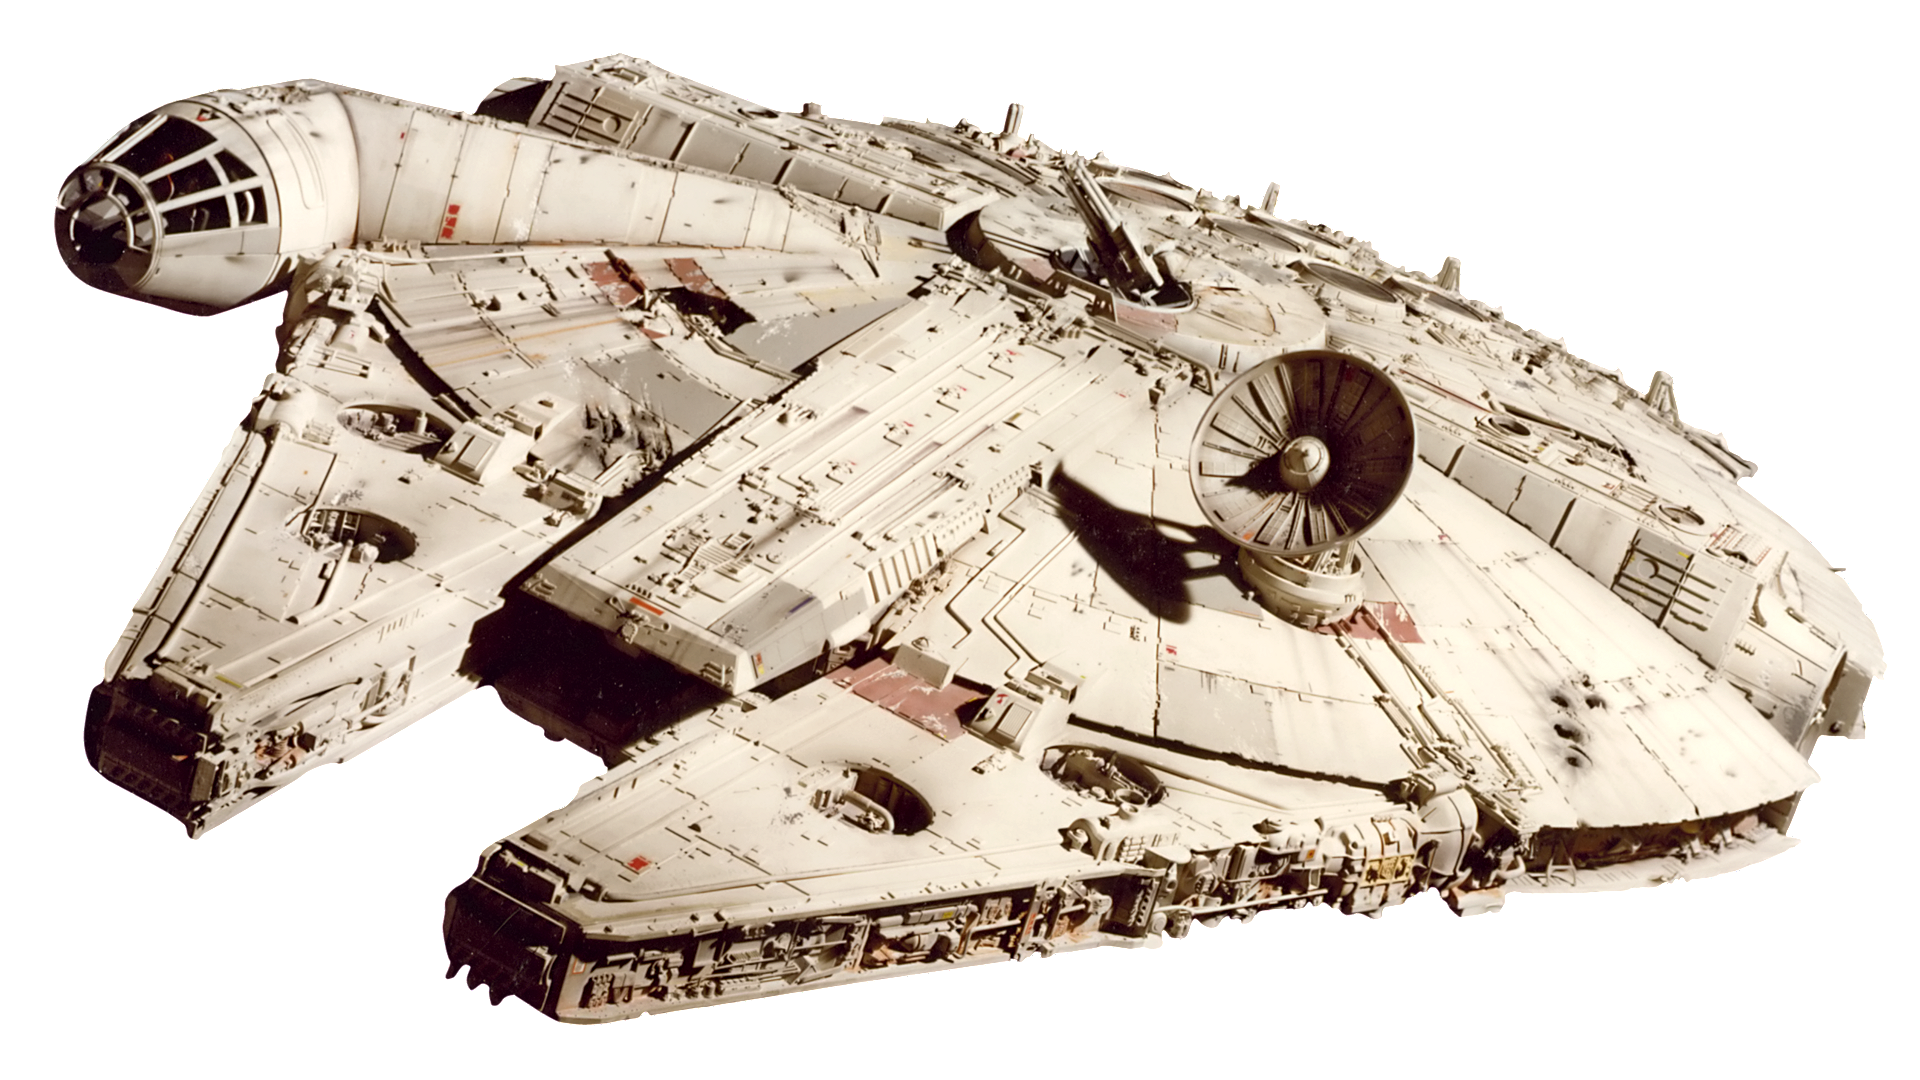
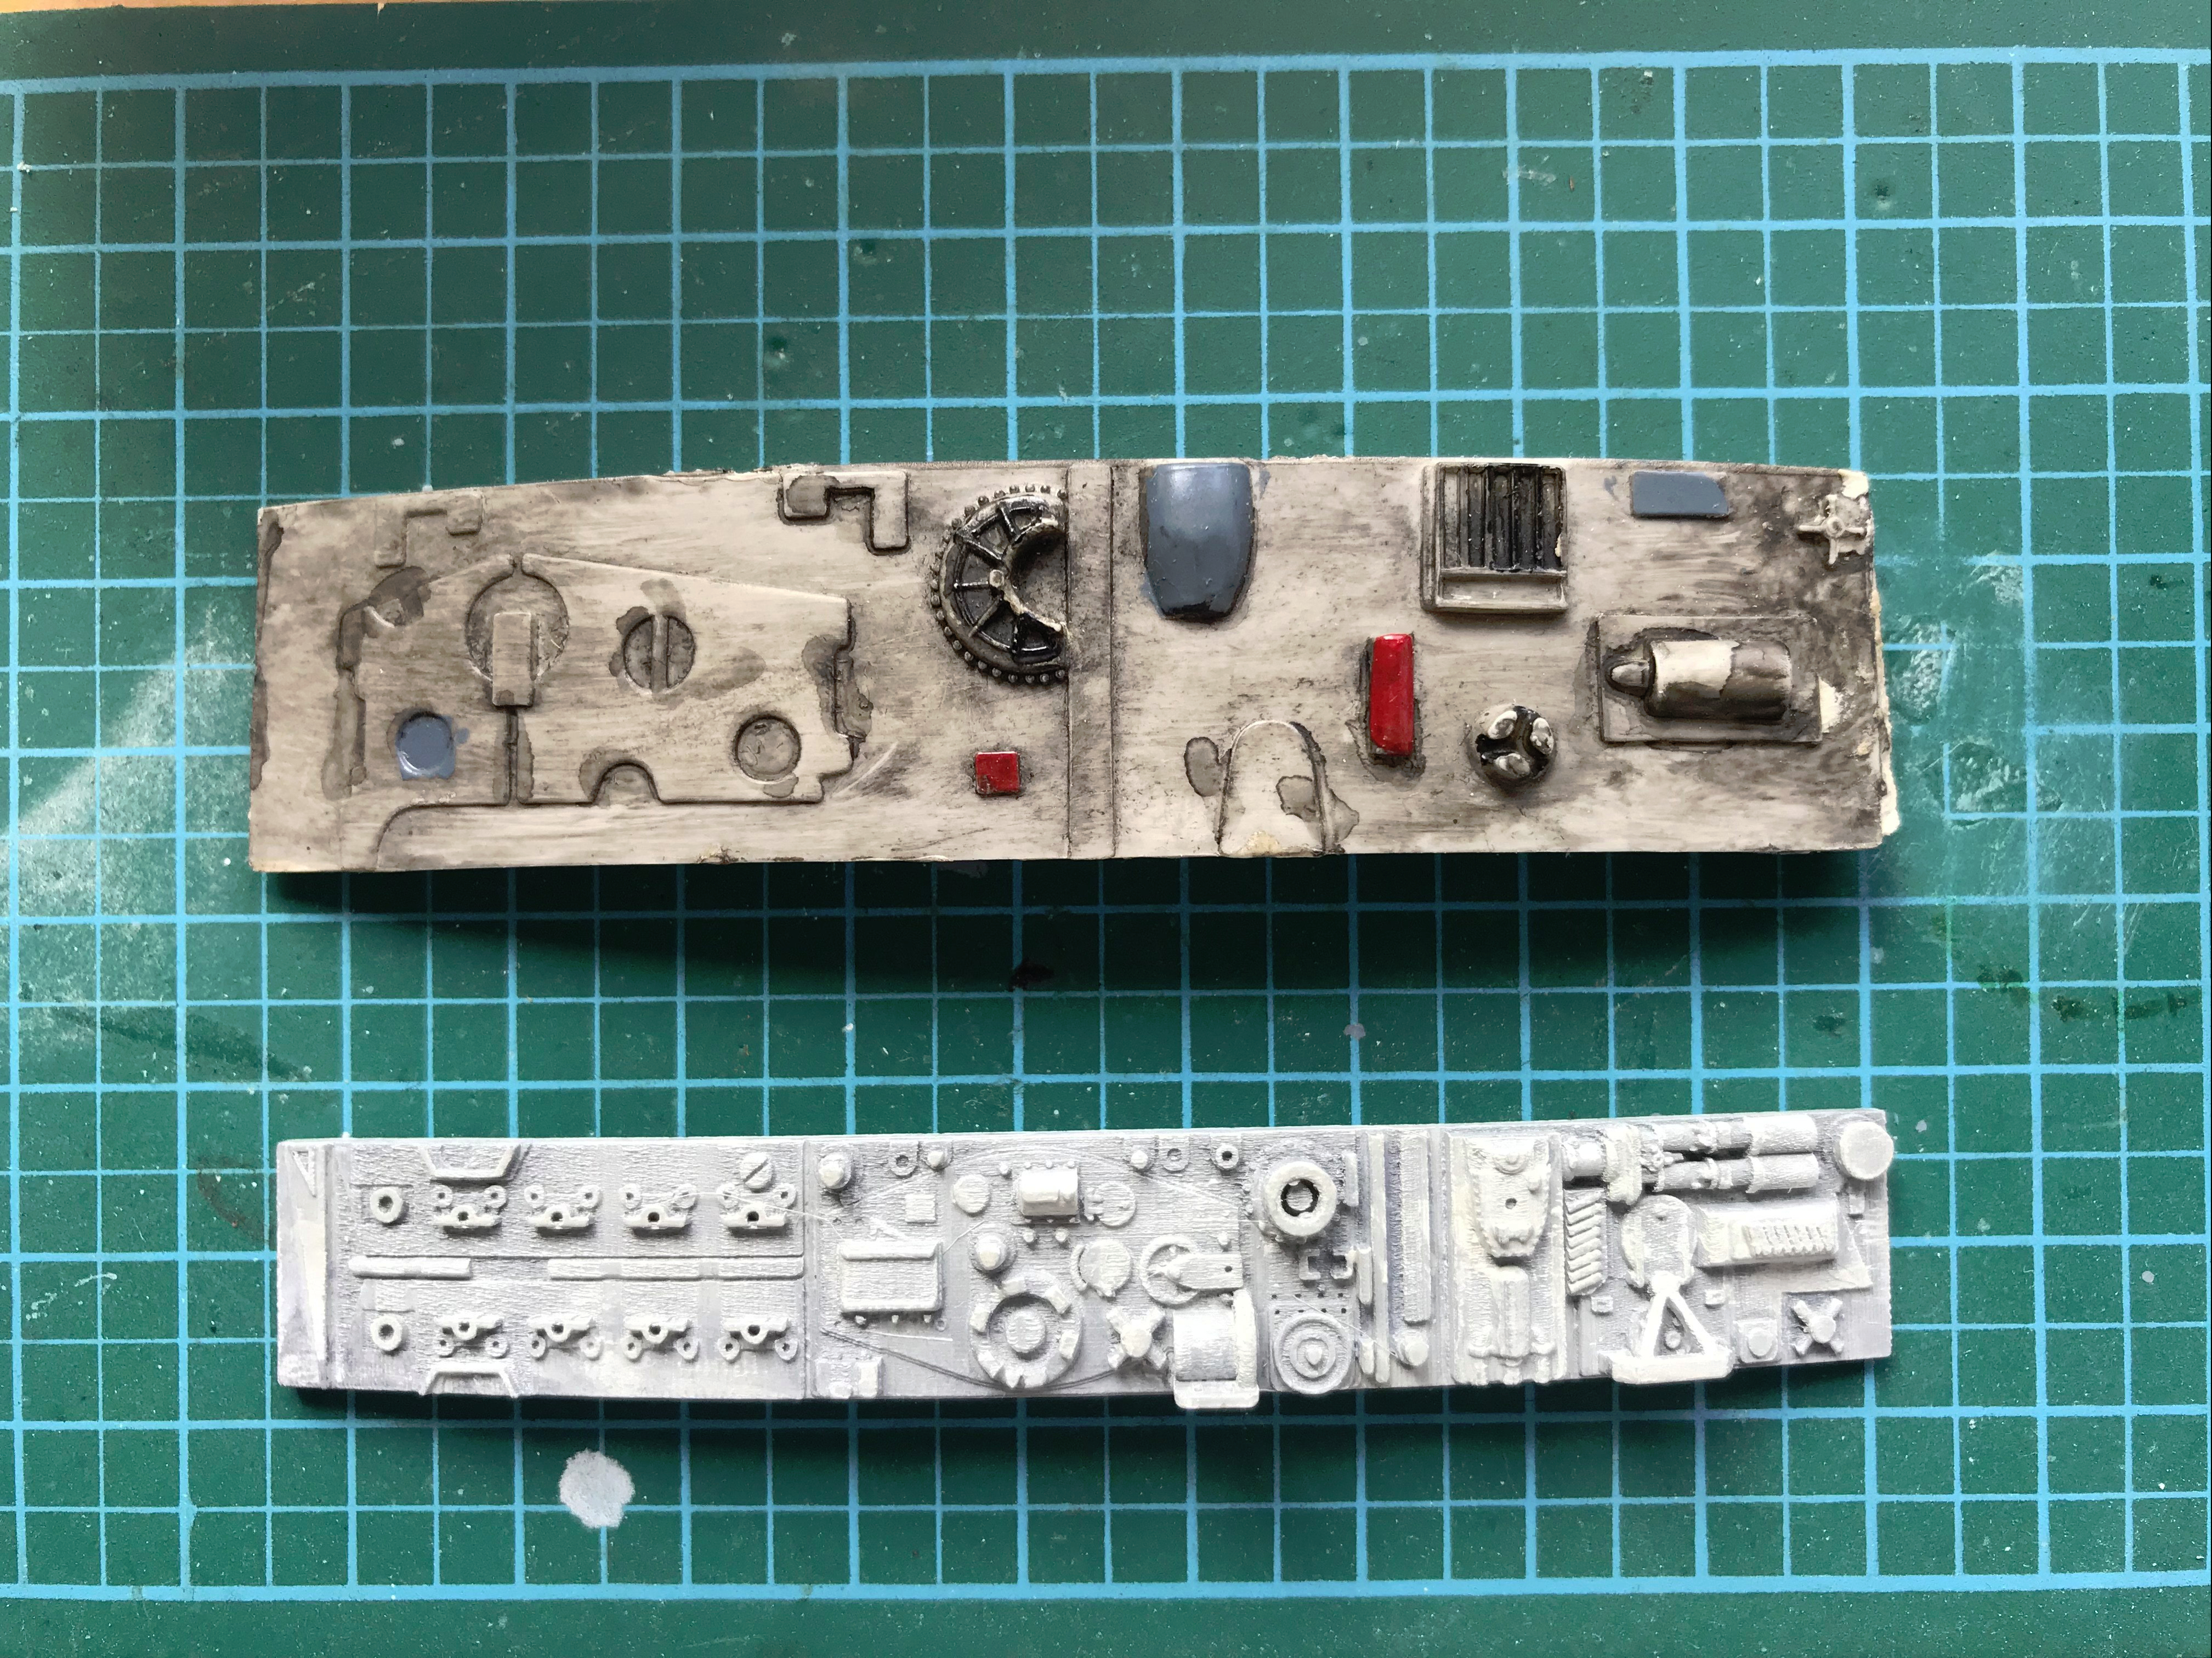
ii) General lack of detail on the sidewalls, docking rings and cockpit. The studio model of the Millenium Falcon was a beautiful 5′ diameter model, which was then “kit bashed” with detailed bits, or “greeblies” supplied from a dozen or more sacrificial model kits. These included Panzer tanks, a Ferrari F1 car, Trucks, etc… Even the decals made their way on to the studio model, most famously with an Allied Moving Van decal above the cockpit window!
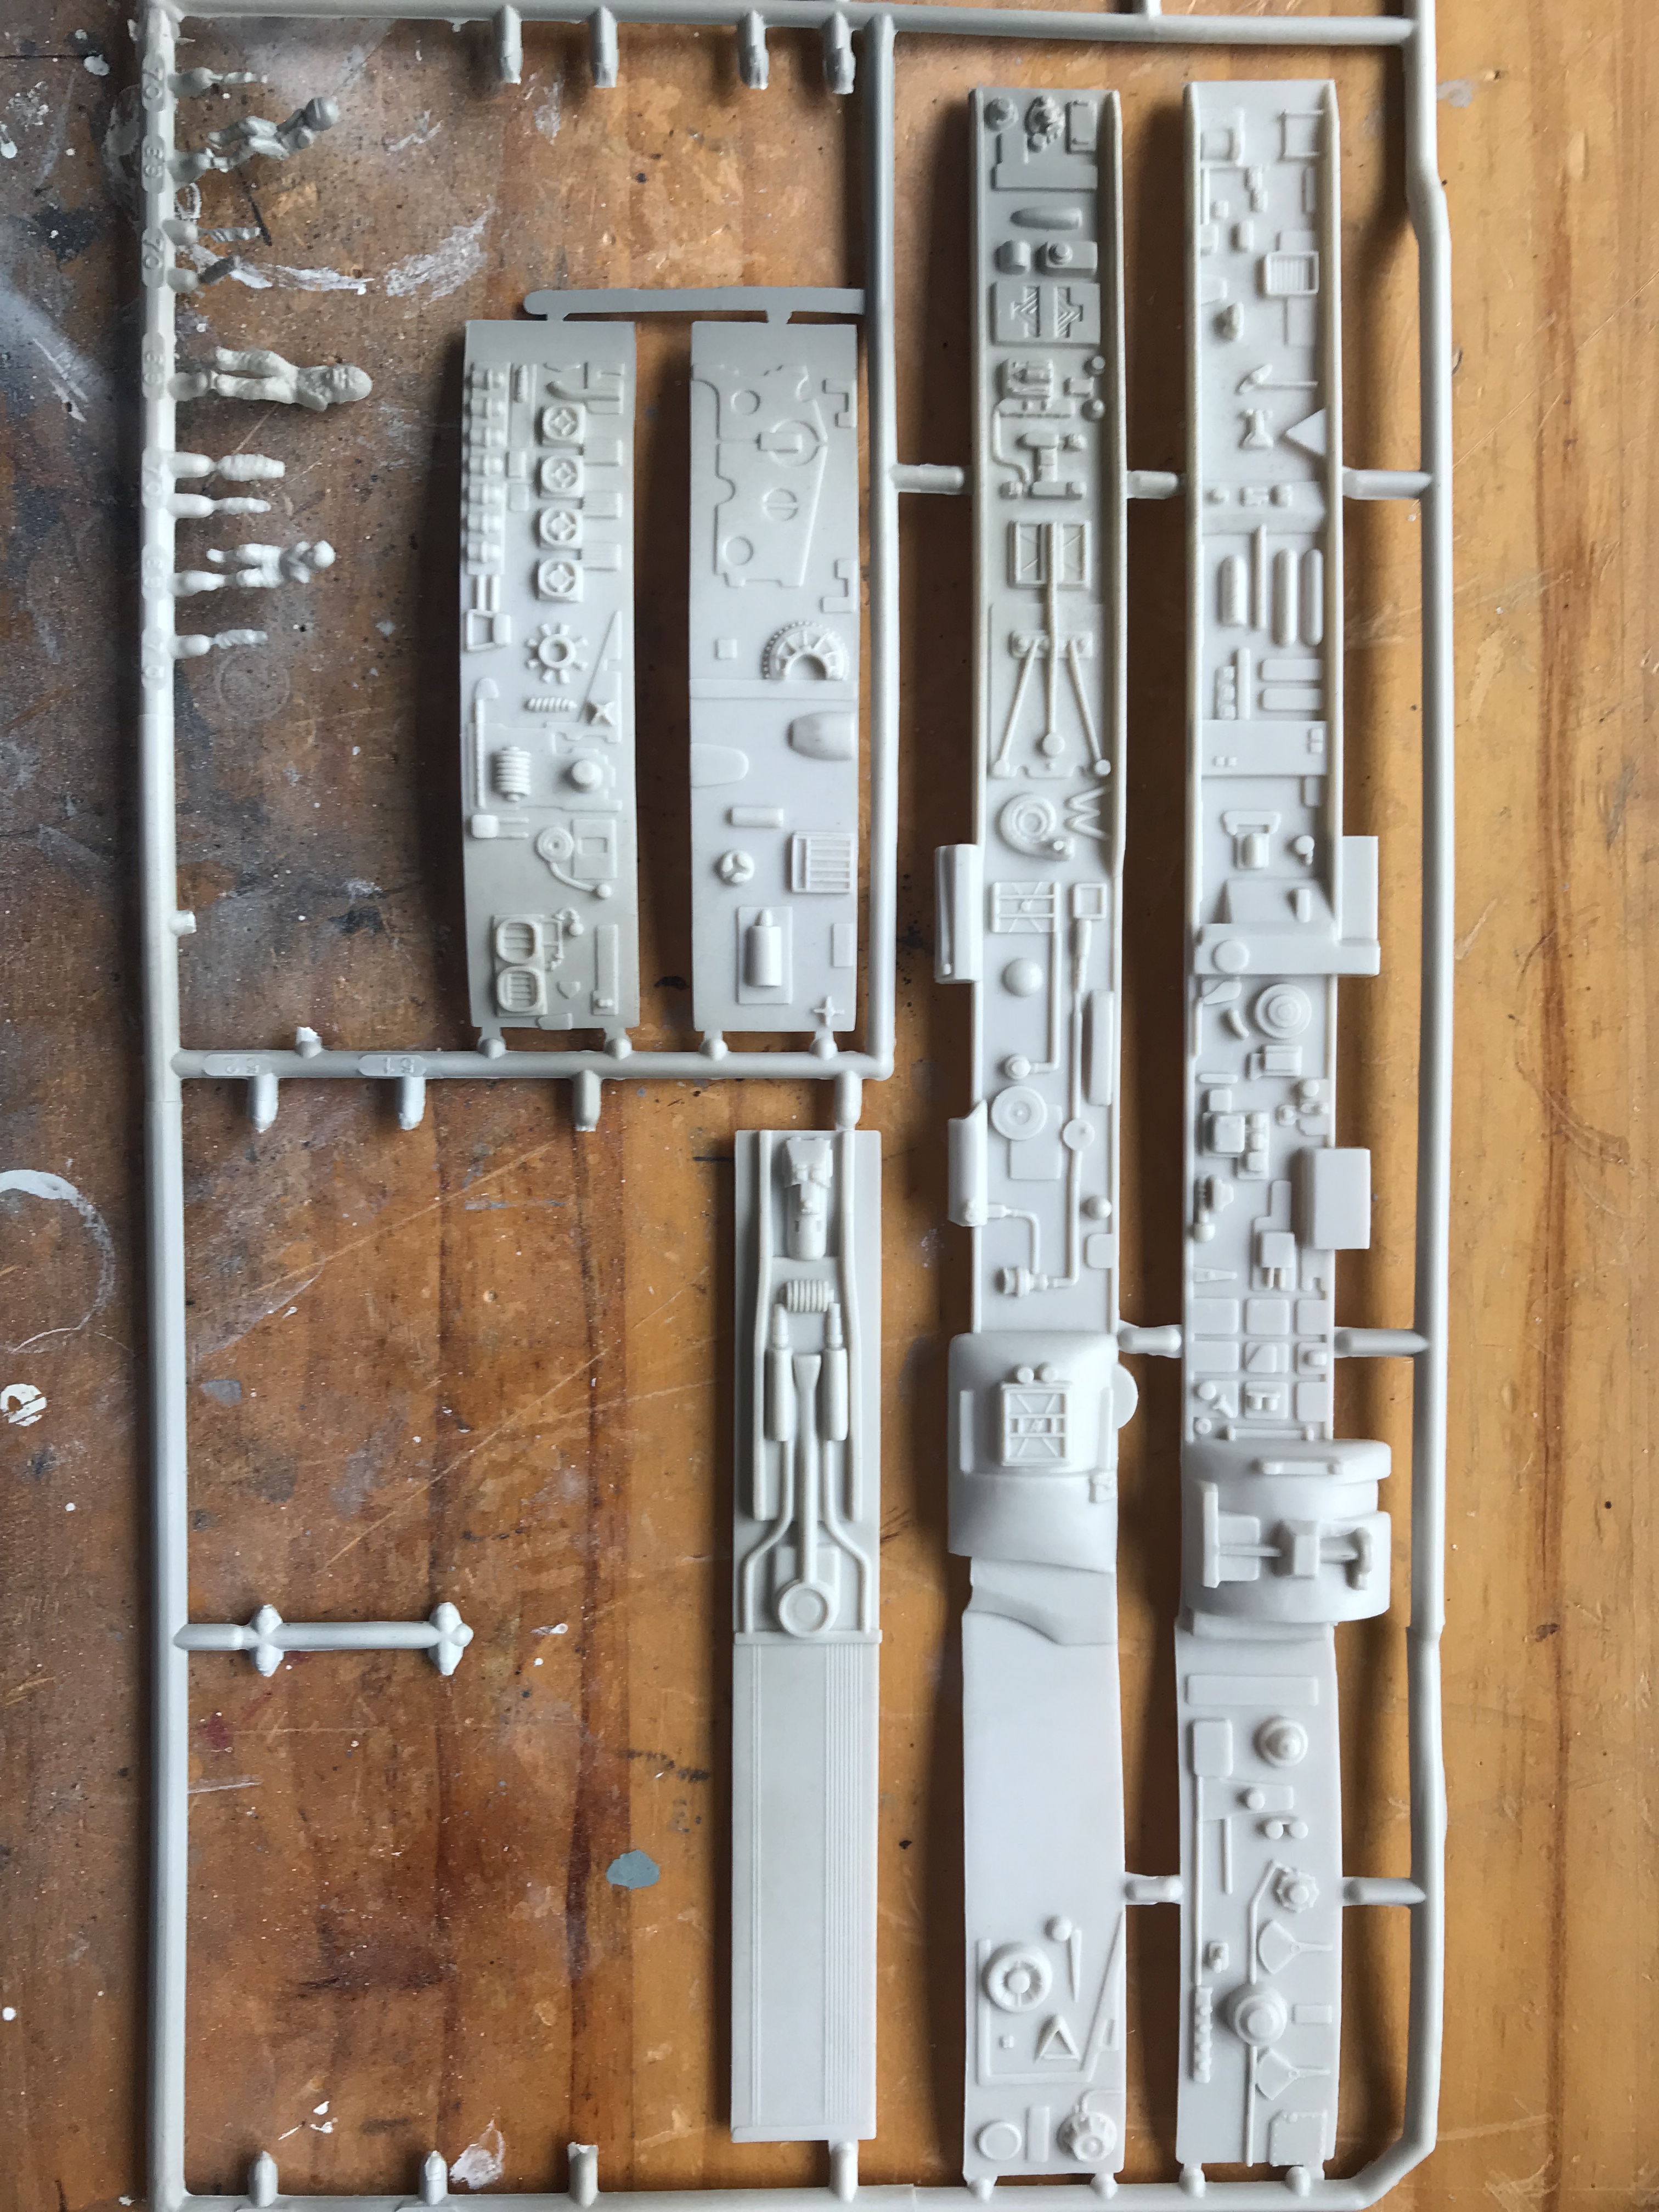
However the MPC kit’s level of detail in these areas is sparse and lacking. Here are the original sidewalls, and their studio counterparts:
So you get where I’m coming from: the MPC is gonna need a whole lot of custom parts and work to bring it up to scratch.
Thus began my search for improved parts.
One of my first stops was the Starship Modeller website: http://www.starshipmodeler.com/
They are a great source of information on the kite and John Martin’s article on “Correcting & Detailing ERTL’s Millenium Falcon” ( http://www.starshipmodeler.com/starwars/jm_mf.htm ) is a great source of detailed information, as well as some terrific pics of the 5′ Studio Scale model.
However most of the Millennium Falcon “conversion” parts that they sell through their shop are for the 1/144 or 1/72 scale kits, and the MPC kit is more like 1/68, although no scale is given. There were very few MPC conversion parts available at the time. So the search continued.
Google to the rescue, and a 21st Century solution!
Most of the custom or conversion parts that I’ve seen online have been either resin molded in limited production runs (and usually out-of-stock) or for some very specific parts, photo-etched metal. But we live in the world of Tomorrow, folks! There’s now another way to fabricate these specialised parts – 3D Printing!
Now I don’t own a 3D printer, nor do I believe that any 3D printer that I could actually afford could print anything to the level of detail that I want, or in a material that was compatible. Most things I’ve seen printed off these domestic setups wind up looking like Snowmen in April; globby and saggy.
Enter Shapeways (http://www.shapeways.com). Shapeways is a commercial 3D printing service that can print your 3D designs in a range of materials from low grade plastics right through to precious metals. And they have a marketplace for selling your 3D printed products. No issue of limited production runs – everything is printed bespoke and on demand!
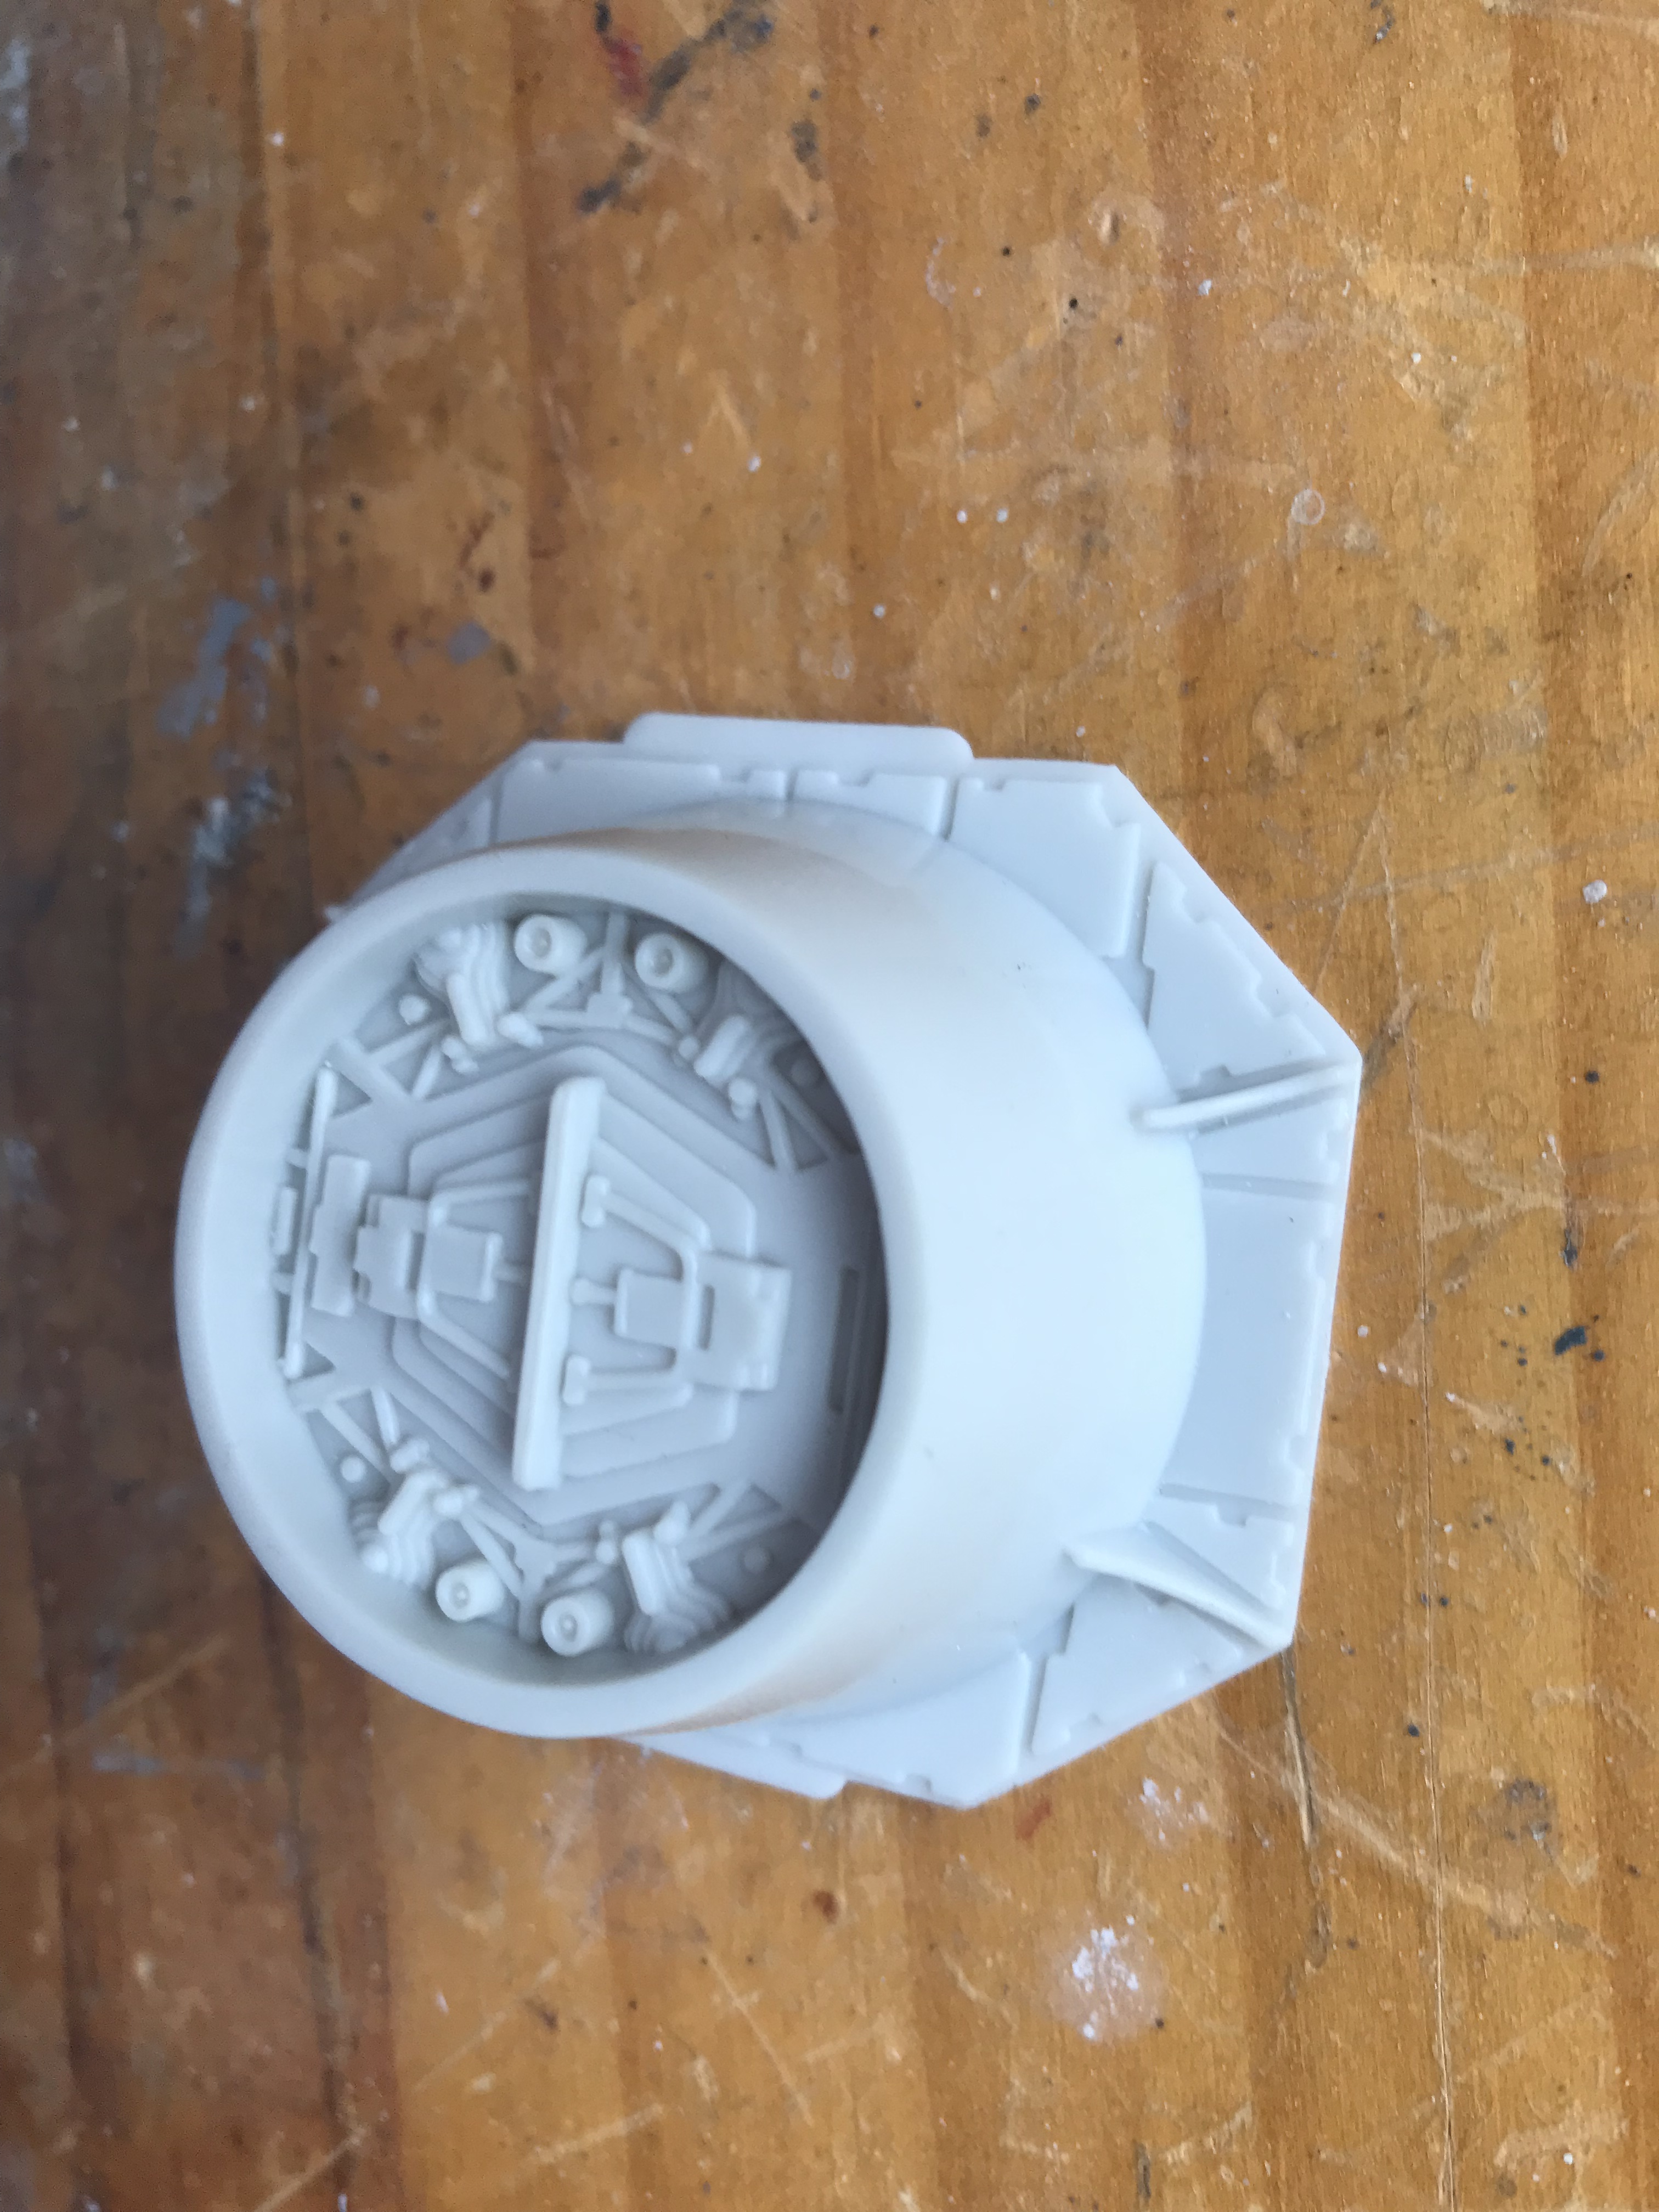
TonyRR runs a Shapeways Marketplace shop called 308bits (http://www.shapeways.com/shops/308bits), and among his offerings are the most detailed and accurate replacement parts for ANY Millennium Falcon kit, but especially the MPC and De Agostini models. And they’re printed in a very high definition, hard plastic media which reproduces the details magnificently. Here are a few examples:
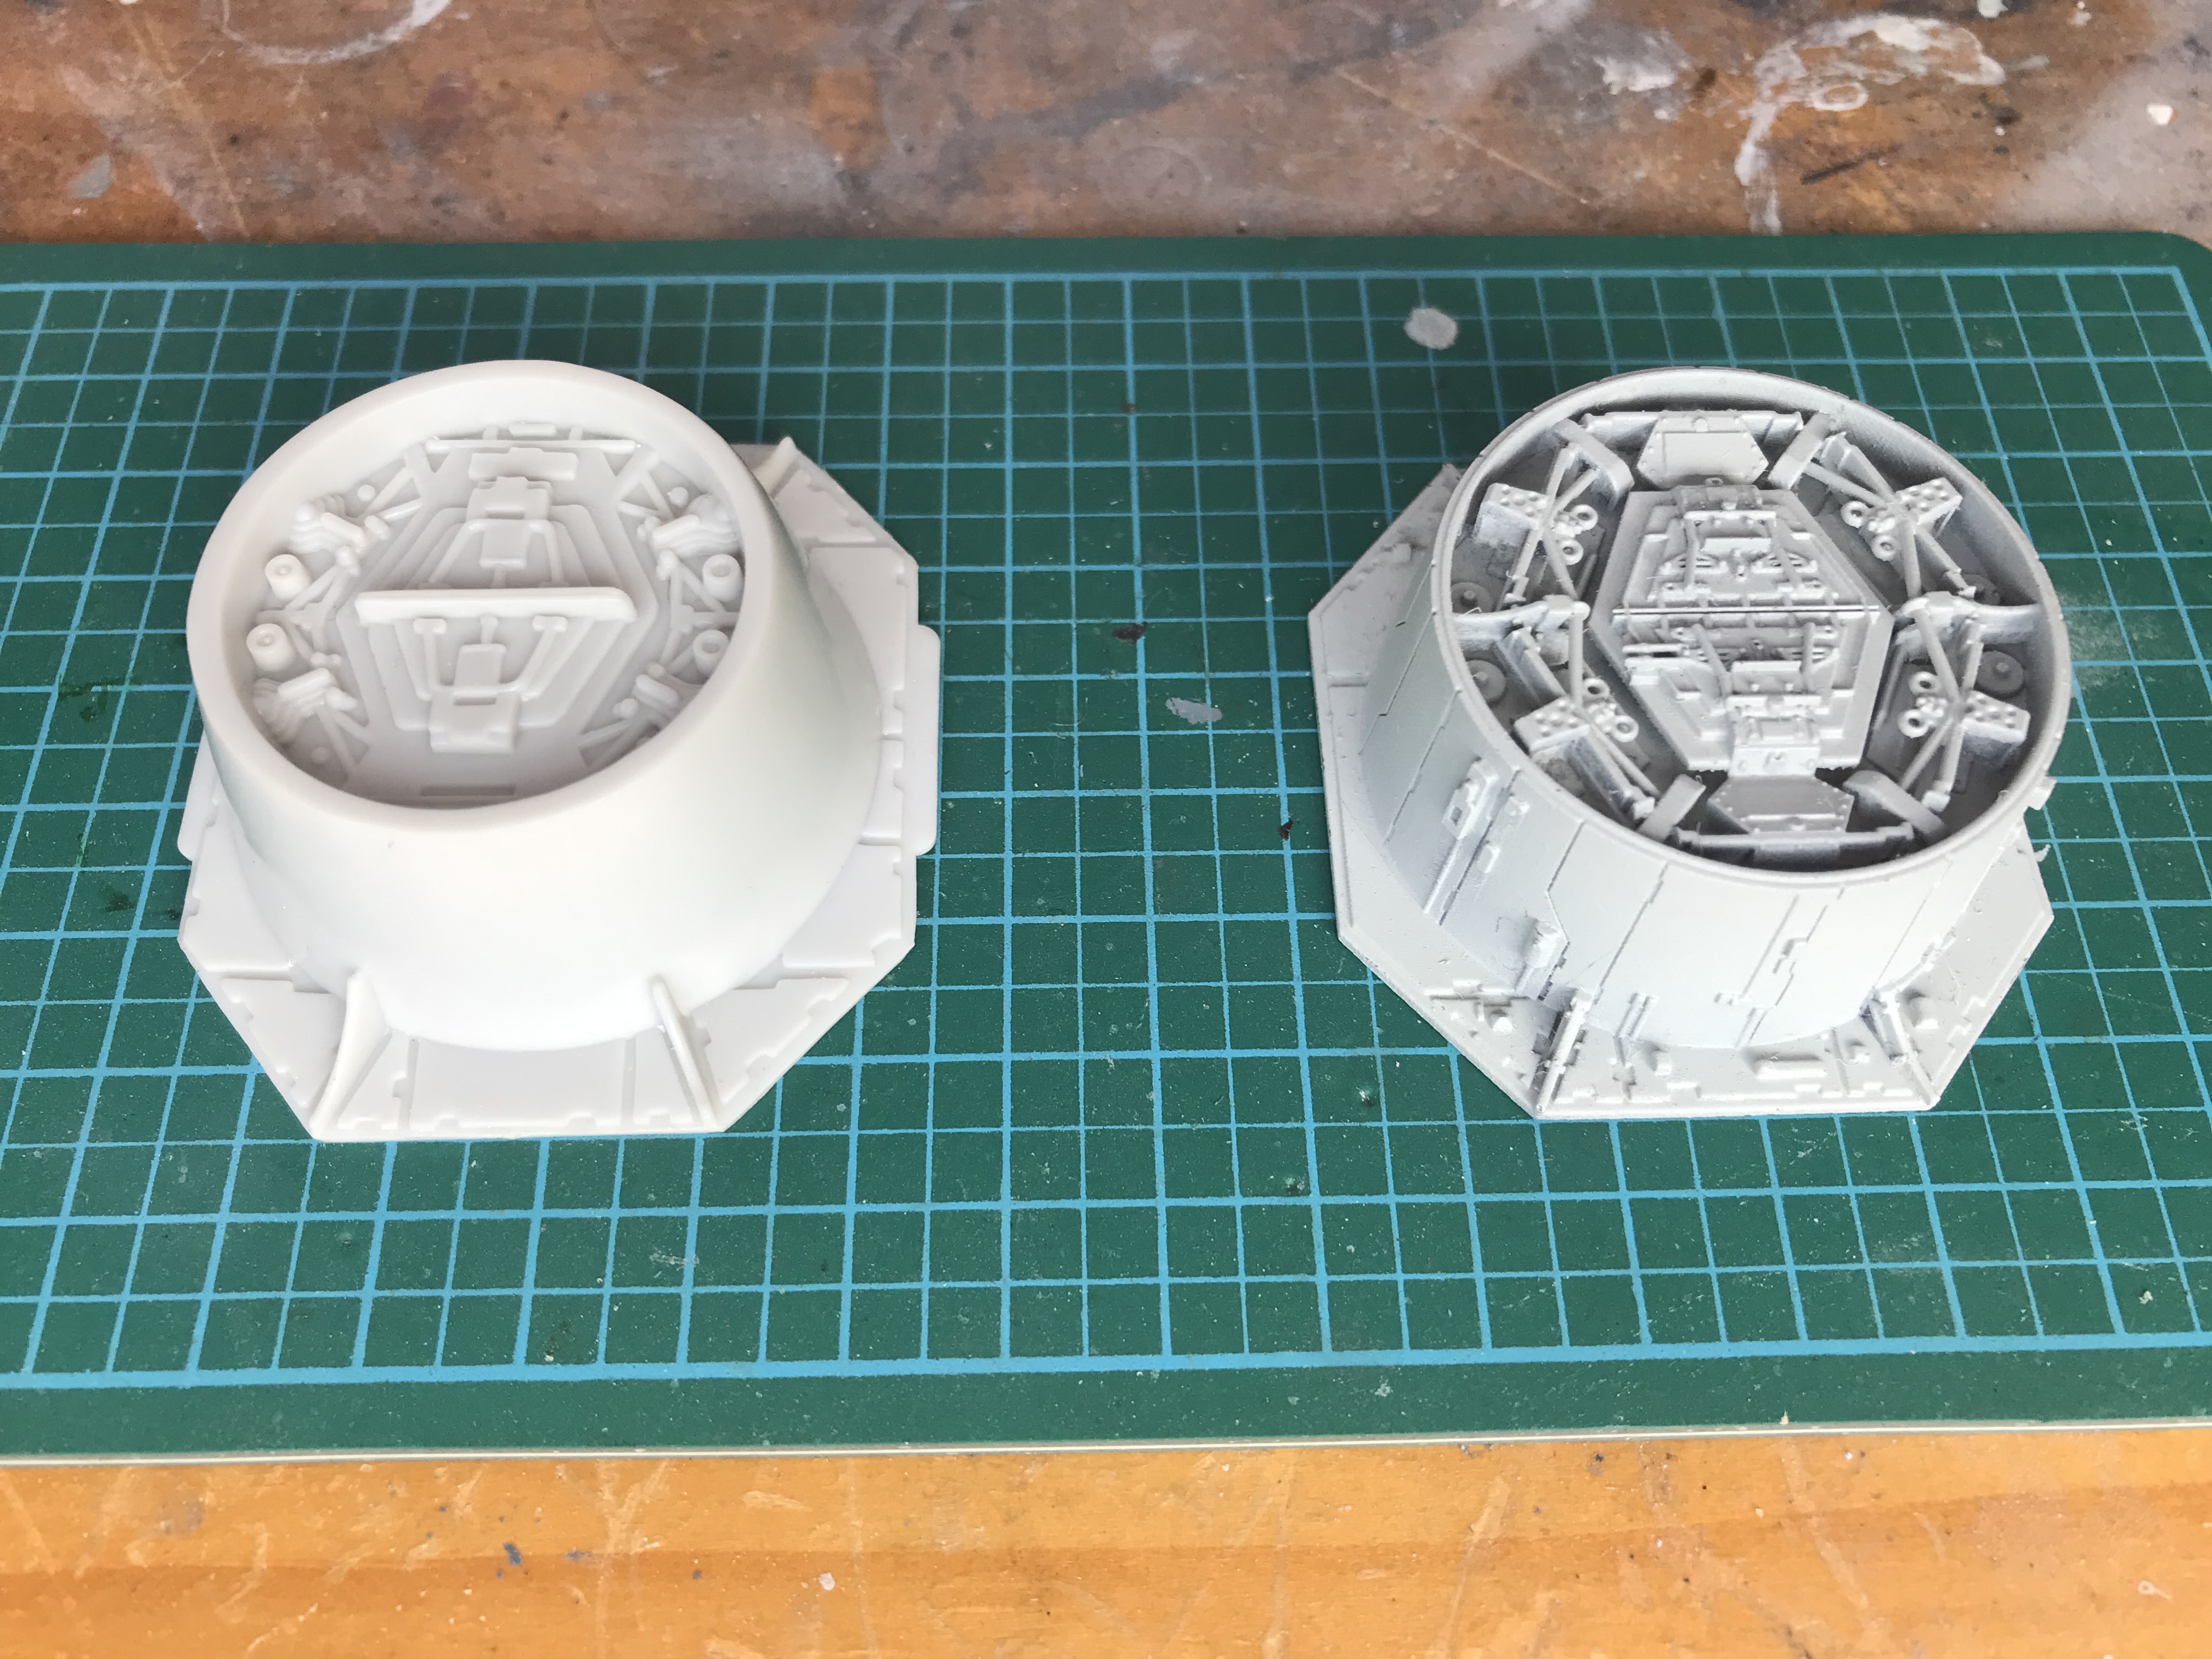


Tony’s work and attention to detail is phenomenal, and after trying out several parts, I decided that I’d found the source for my parts.
Now to get down to some serious work…and therapy!
